Hey everyone!
I've started a couple of weeks ago building a mini arcade cabinet. The goal is to make something tiny enought to be on a desk, but with a screen big and fast enought to be used.
A bit of history:
Last year, after buying a cheap
mini arcade machine and be uterly desapointed, a friend asked me if I could build him a small arcade cabinet, but with real arcade game: he insists on Final Fight, Shinobi, etc... in shrot, he wanted MAME but in a tiny build.
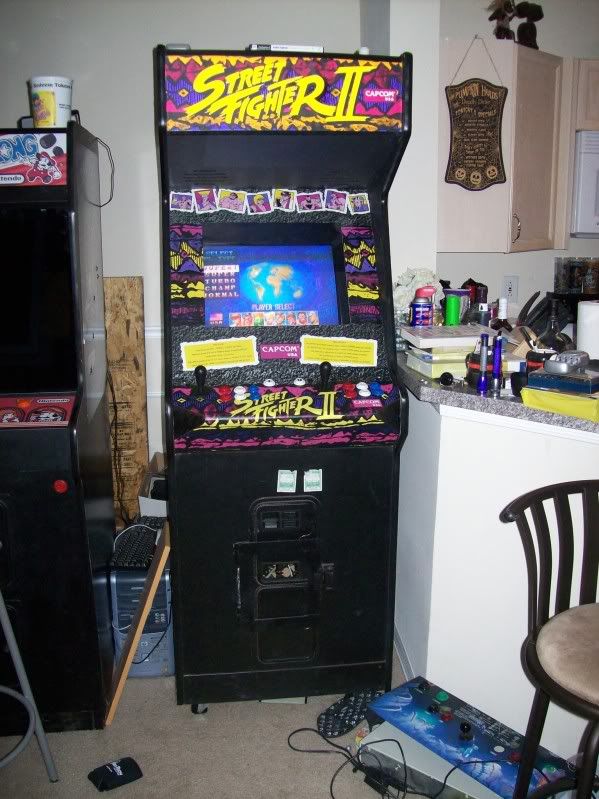
After showing him "small" ones with 10" screen and real controls (Sanwa and all) he says it was too big and wanted something small like the cheap one.
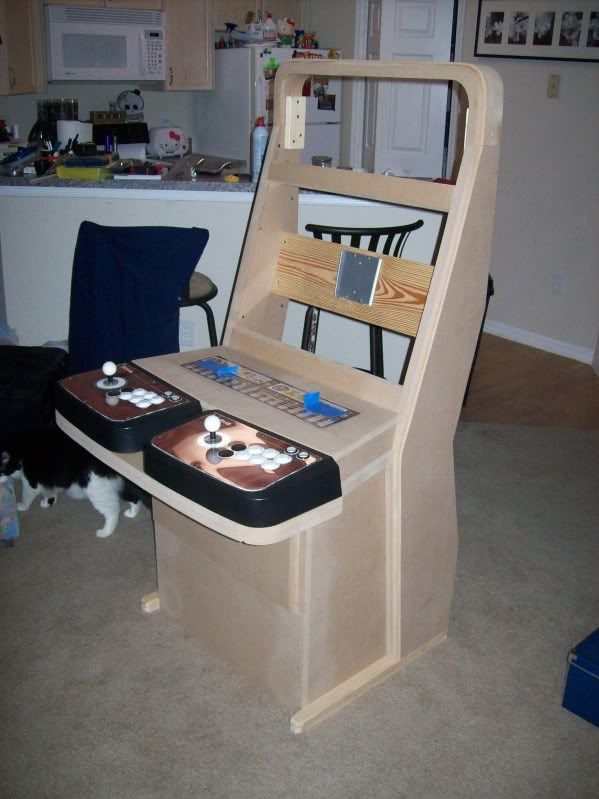
So here's the first draft I've made in cardboard to check with him the size:
![F9gYycqm.jpg]()
![2U42iLTm.jpg]()
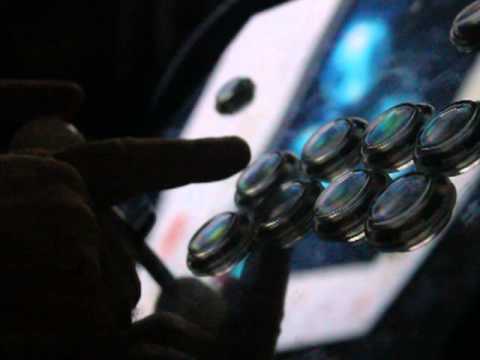
After agreed on the size I went into making it with a 3.5" TFT screen in SPI mode.
Fast forward one year later (yeah, I know, but to my defense
I've build him a GameBoy Nano) I've finally make the screen working:
![6LSiLlQm.jpg]()
Unfortunately, the refresh rate didn't satisfied him.
I went back on the bench and check what screen I could use.
I found a great 5" TFT screen, with a HDMI driver:
-
https://www.adafruit.com/product/1680
-
https://www.adafruit.com/product/2218
Screen is 120mm large (4.7") and so will my cabinet be.
To give the abilty to print sticker easily on a A4 sheet (21cm*29.7cm), the cabinet must be 21cm height tops.
So here the goals I fixed for the build:
Main Goals:
- Raspberry Pi 2/3 with easy access to replace/upgrade later
- Screen, small as possible but with a good refresh rate
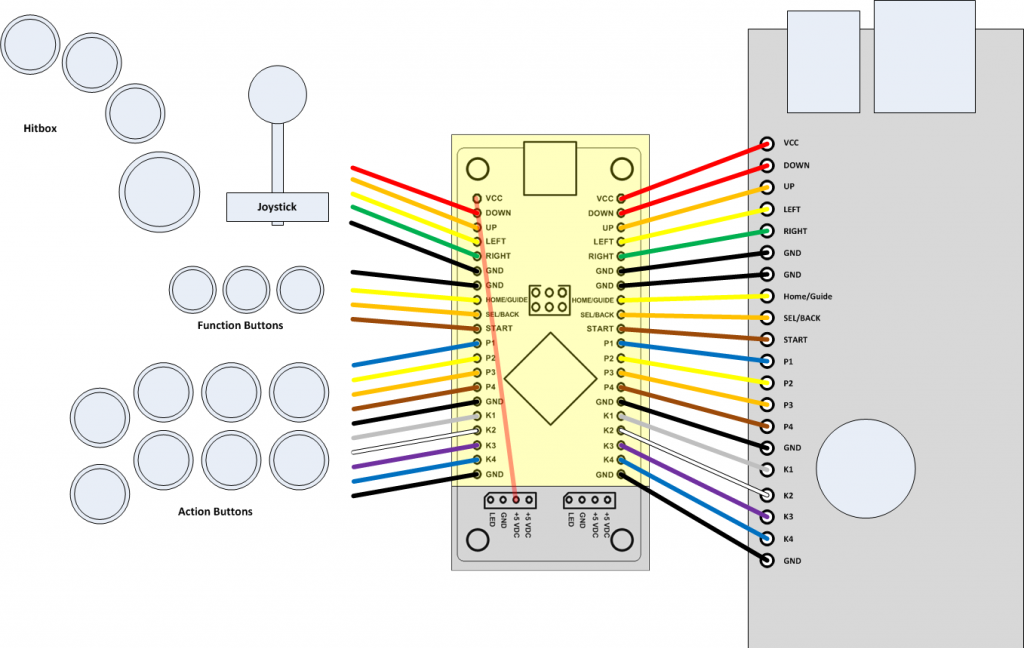
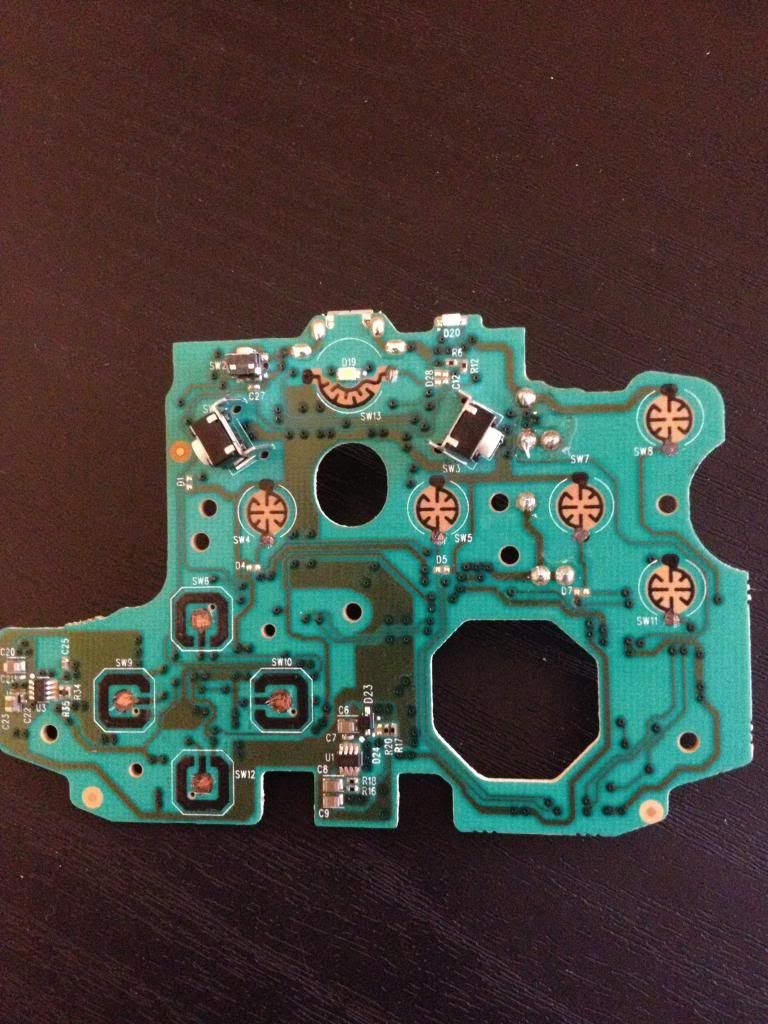
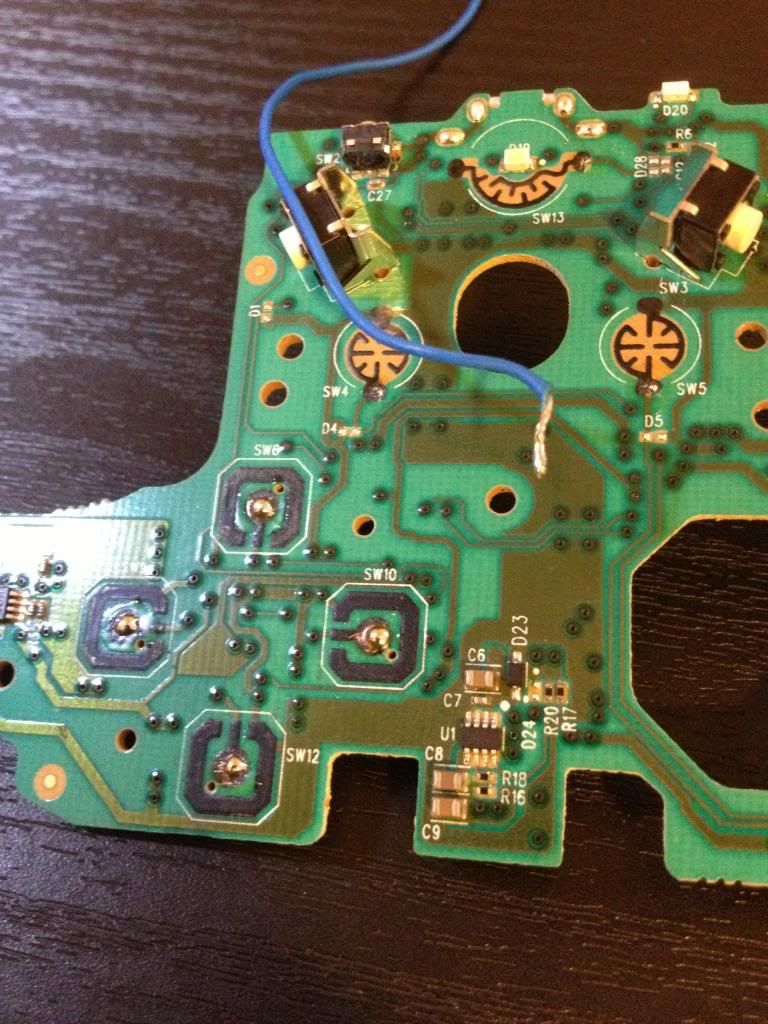
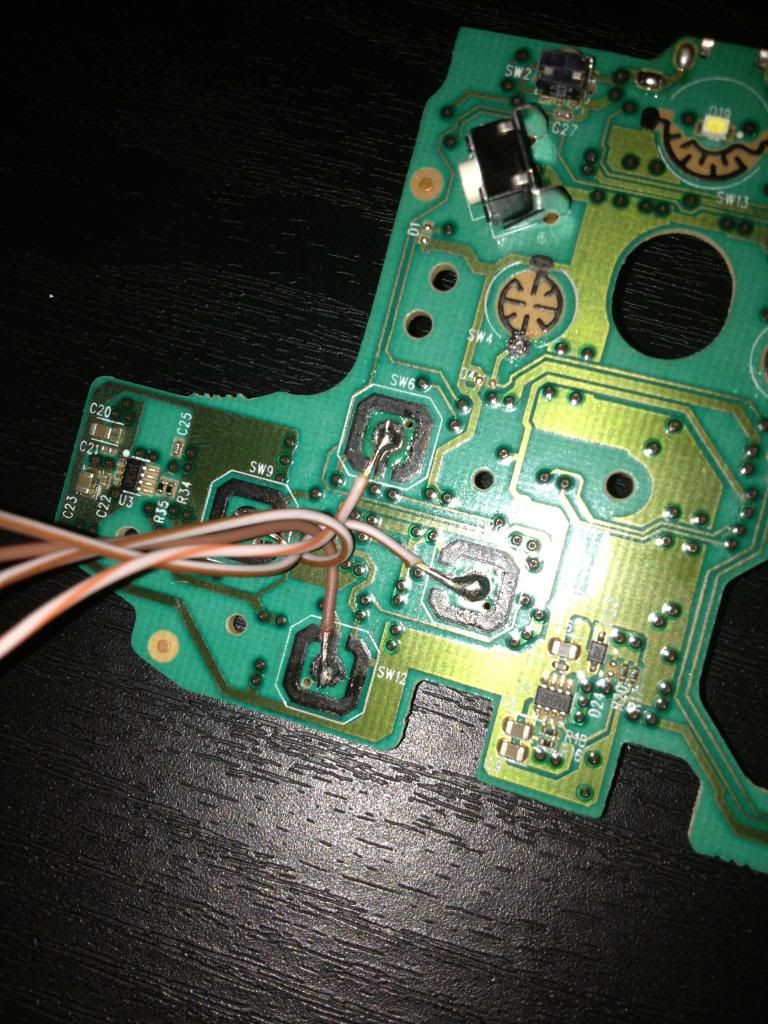
- Controls looking as an arcade: Stick and 6 buttons (plus start/select/home)
- Power on/off switch
- 21cm height TOPS.
Secondary goals:
- HDMI output possible to hook it up to a big screen,
- Same with audio/video jack,
- Should be build as a "kit" in mind, especially the structure,
- Internal sounds,
- Accessibility to the SD slot of the Pi without dessambling everything,
- Close as possible to a real arcade shape,
Fancy-pantsy features:
- Lit Marquee
- Volume Control with jack sense (cut the internal sounds when plug on the jack)
Design was finished in a CAD software
![plJyg62m.jpg]()
This would help me to keep track of measurements and test before printting the space inside the cab.
At first, I intended to use balsa wood sticks, make the parts as counter molds, then resin-cast them.
But eventually, I bought a cheap 3D printer which accelerate drastically the build:
![grXXpp9m.jpg]()
This is a Anycubic Kossel Linear Plus. Structure will be printed in PLA.
Edit: tipos and better english


 (img credit
  (img credit
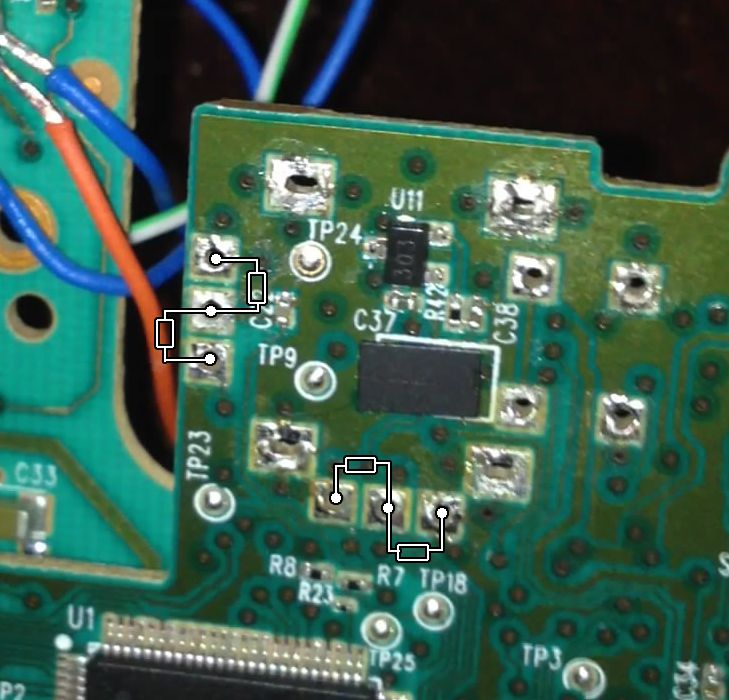
 (img credit


") .
.


") .
.


