![DSC08853_CROP_RESIZE_zpsd386d24c.jpg]() Intro:
Intro:
Well, folks, it's been a long time coming, but I'm really close to finally getting these things out there and into your hands!
Description:
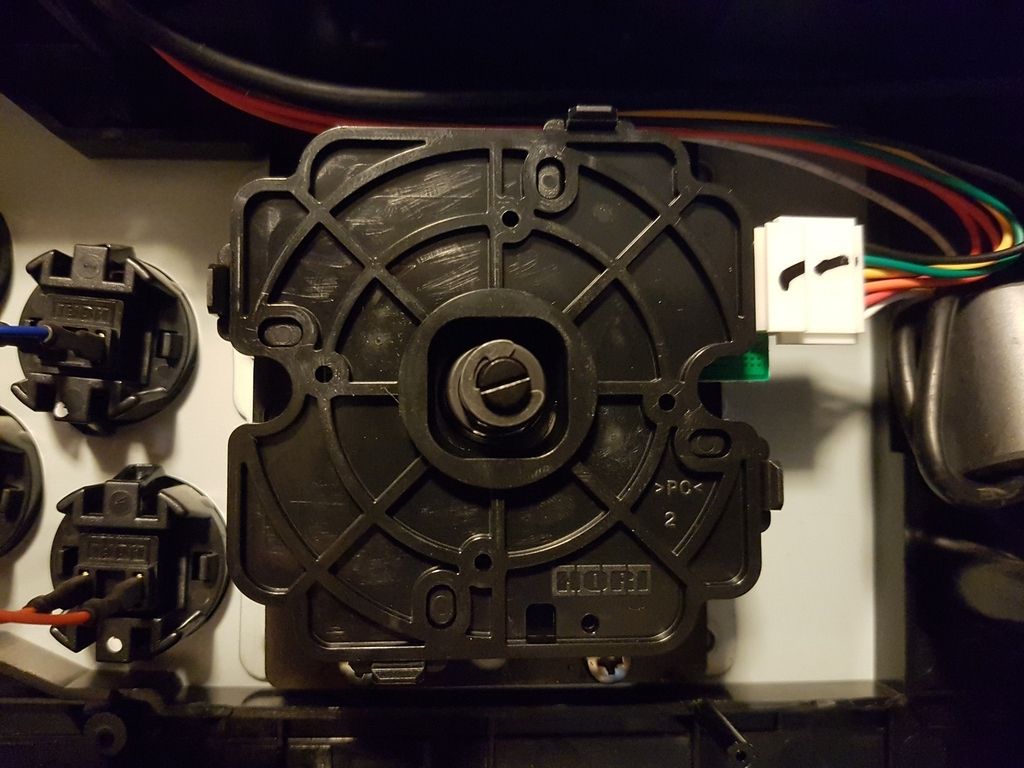
This is the opposite of boards like Toodles' Cthulhu or the PS360 which take the button/joystick wire signals and turn them into USB. This takes input from your USB 360 or PS3 controller and turns that into button/joystick wire signals. You could use this to control any number of projects from Superguns to robotics, to anything you can imagine that you'd like to control with your digital 360 or PS3 joystick!
These are essentially the same circuit and firmware as that of the
UD-CPS2 (ran at multiple major events including ST Games @ EVO, The Fall Classic, etc.).
Target price is $35 for the Screw Terminal version and $40 for the DB15 version.
Screw Terminal Version Features:
- Terminal Blocks for solder free wiring (signal layout intentionally similar to MC Cthulhu so you can mate them for fun things like TE stick on SNES)
- USB A Socket
- Alternate header for USB signals - for people who don't to use the on-board USB socket
- Indicator LED - bi-color, red/green
- Alternate header for LED signals - for people who don't to use the on-board LED
- Pull-Up Selection Jumper - allows for pulling button/joystick signals up to +5V or +3.3V, depending on the application
- Player Select Jumpers - tell the joystick to light up the appropriate controller LED (can be set for P1-P4)
- Custom button mapping - for 6-8 action buttons
- Firmware can be updated via USB for future features/improvements
History:
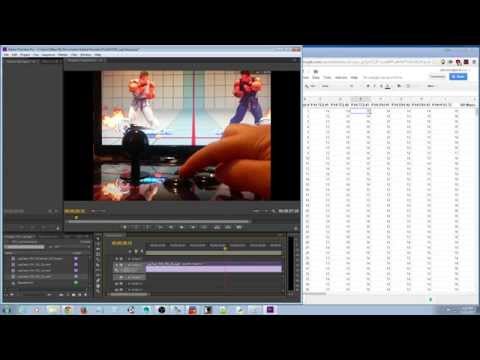
Here's what
@Rufus did with a couple boards which were used at SoCal Regionals, early last year:
![DSC08604_CS_zps68321334.jpg]()
(sweet 3D printed case by
@Rufus not included)
![SCR_2013__zpsdb03f7e7.jpg]()
(running on a supergun at SoCal Regionals 2013)
Future:
I will continue to improve the firmware features as I have time.
Let me know if you have any ideas or suggestions!
Resources:
User Manuals / Firmware -
http://udgametech.blogspot.com/p/firmware.html
Ordering:
http://www.paradisearcadeshop.com (search for "undamned")
https://www.akishop.jp (search for "usb decoder")
-ud


 ) to have one done. His quote was around the same $800 price point (assembled, finished and delivered) but with me providing detailed plans, only having the woodwork done, no finish or paint, and doing only a local pickup, brought it down to $500. Decent enough for me at least. You might save more money if you know someone. Here are the pics he sent me when they were done:


")


 .
.